Arcade button sizing looks chaotic until you learn the two numbers that matter: 30mm and 24mm. The 30mm button is the standard action button on Japanese-style panels; the 24mm is its smaller sibling, used for start, select, and tight layouts. Almost everything else — American-style buttons, oversized dome buttons on redemption machines — hangs off those two reference points. Here is the whole system, plus the mounting details that actually cause returns and redrilled panels.
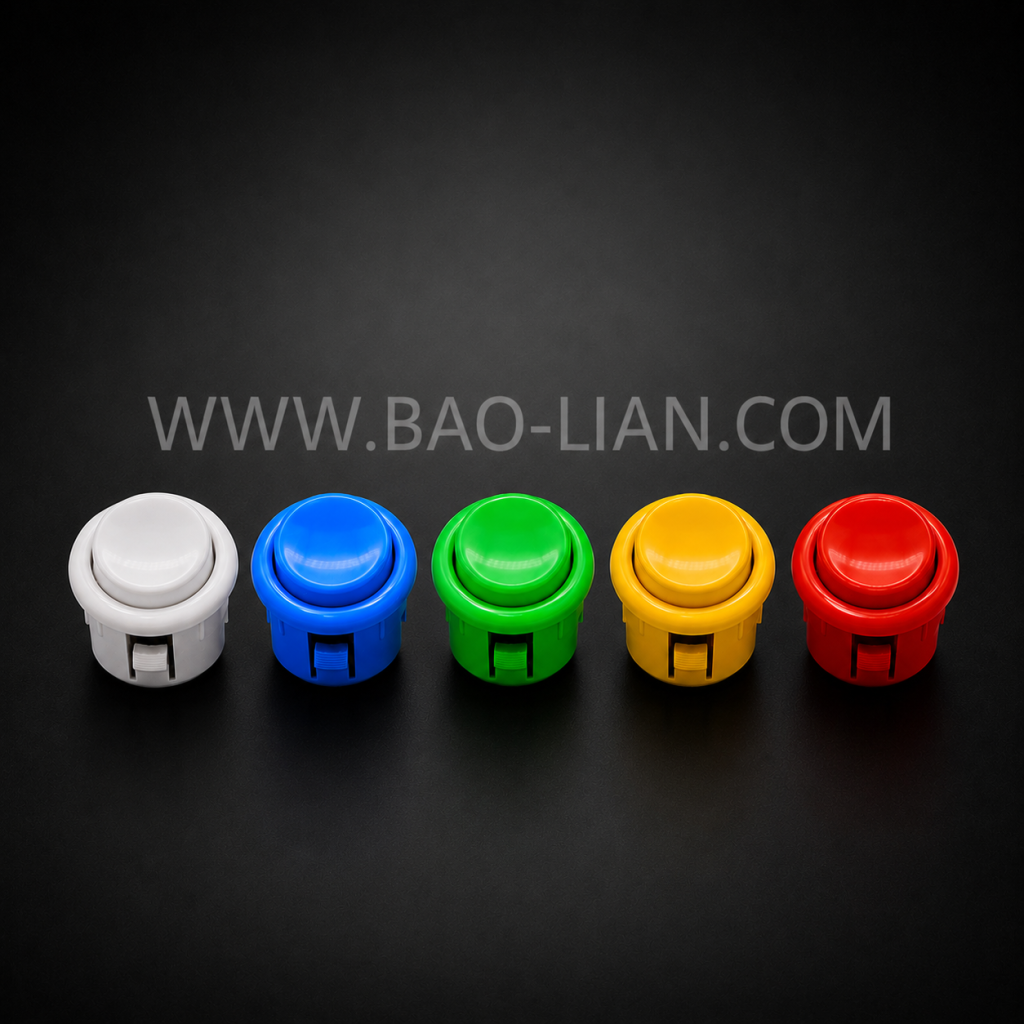
30mm: the main action button
The 30mm size (that is the panel hole diameter) is what your fingers rest on in any fighting-game layout — six or eight of them in curved rows. If you are replacing buttons on a Japanese-style panel or building a fight stick, 30mm is almost certainly what you need. Baolian makes them in illuminated (LED/RGB) and standard versions, with snap-in or screw-in mounting.
24mm: start, select, and tight spots
The 24mm button is the same construction scaled down. You will find it as the start/select button on most panels, and as the action button in compact builds — bartop cabinets, control panels where a 30mm simply will not fit, and dense rhythm layouts. A useful rule: gameplay under your fingers gets 30mm; functions you press occasionally get 24mm.
American-style buttons
American-style pushbuttons are a different lineage: typically a taller concave plunger, a threaded body with a palm nut, and a stiffer feel that matches American-style joysticks and thicker wooden panels. Hole sizes cluster around 28mm (1-1/8″). If you are restoring or building a US-style cabinet, match the button family to the panel and the joystick — mixing a tall American button into a thin metal Japanese panel usually disappoints both ways.
Big domes: 45mm, 60mm, 100mm
Redemption, quiz, and prize machines use oversized dome buttons — 45mm, 60mm, even 100mm — because they are targets, not controls. They take slaps from children all day, so what matters is the microswitch underneath, the LED illumination, and the mounting ring’s grip on the panel. These are specified by machine design more than by player preference.
Snap-in vs screw-in: the detail that bites
Every size above comes in two mounting types. Snap-in buttons clip into thin panels — roughly 1–3mm of metal or plastic — and make service fast: press the tabs, swap the button. Screw-in buttons use a threaded body and nut, and are the answer for wood, acrylic, and any panel thicker than a few millimetres. The classic mistake is ordering snap-ins for a chunky wooden DIY panel (the tabs cannot reach) or screw-ins where there is no clearance for the nut. Check panel thickness first; it decides the mounting type before color or lighting even comes up.
Wiring notes in one paragraph
Under every size sits the same idea: a microswitch with a normally-open contact. Illuminated versions add a 5V or 12V LED — which is a wiring decision, not a feel decision, and we covered the trade-offs in illuminated vs non-illuminated buttons. Versions with an integrated PCB simplify harness connections on production machines; versions with a bare microswitch are easiest to service with generic parts.
Getting the right buttons in one order
Baolian manufactures the full range — 24mm, 30mm, and full-size formats, snap-in and screw-in, LED/RGB and standard, 5V/12V, with PCB or microswitch — from our own molds and switch line. Browse the push button series, and if you are specifying for a machine or a batch build, send panel thickness, hole sizes, and quantities through the contact page — we will confirm the right mounting type before anything ships, which is cheaper than discovering it after.
Comments
No comments yet.